Let’s be honest, sewing a straight line can feel like trying to herd cats sometimes. My very first project (a tote bag, ambitious, right?) ended up looking more like a parallelogram thanks to my crooked seams.
Sewing straight lines – it sounds simple, but boy, can it be tricky! I remember when I first started sewing, my lines were more wavy than straight. That’s until I stumbled upon these nifty little things called sewing practice sheets. They were a game-changer for me!
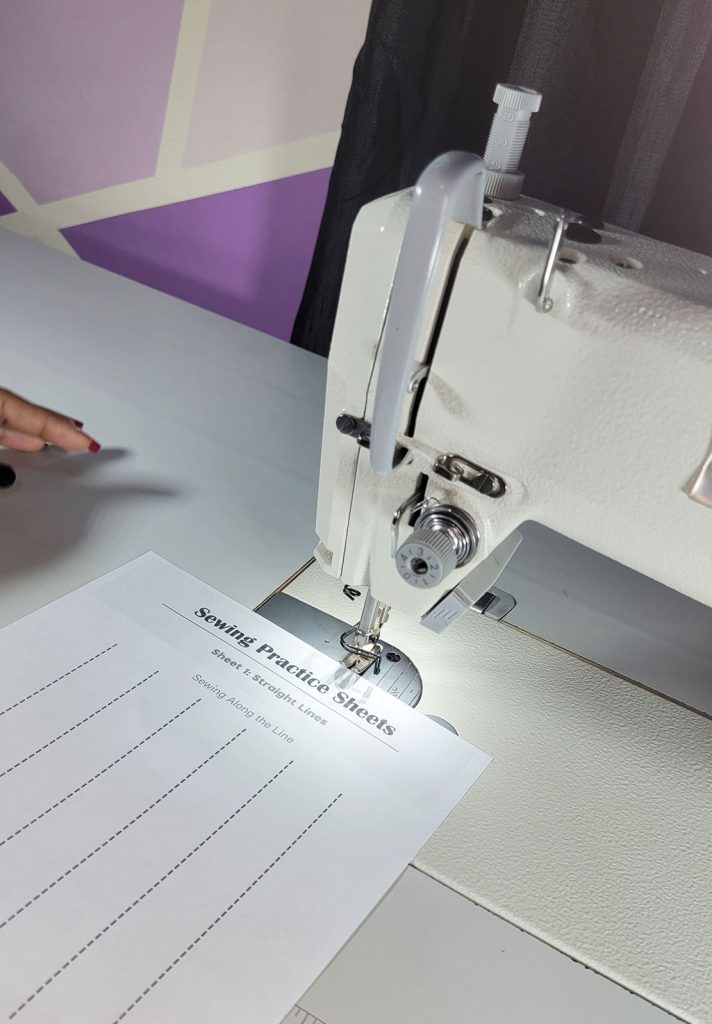
These sheets are like training wheels for your sewing machine; they guide you along so you can focus on getting the feel of the fabric and the rhythm of the machine.
Let’s explore some sewing practice sheets together. I’ll share all the tips and tricks that helped me master those pesky straight lines, and soon, you’ll be sewing like a pro.
Get Your FREE Sewing Practice Sheets Below
Types of Sewing Practice Sheets
Think of sewing practice sheets as your sewing journey’s partners-in-crime. Here’s a breakdown of the different types to find your perfect match:
1. Straight Lines
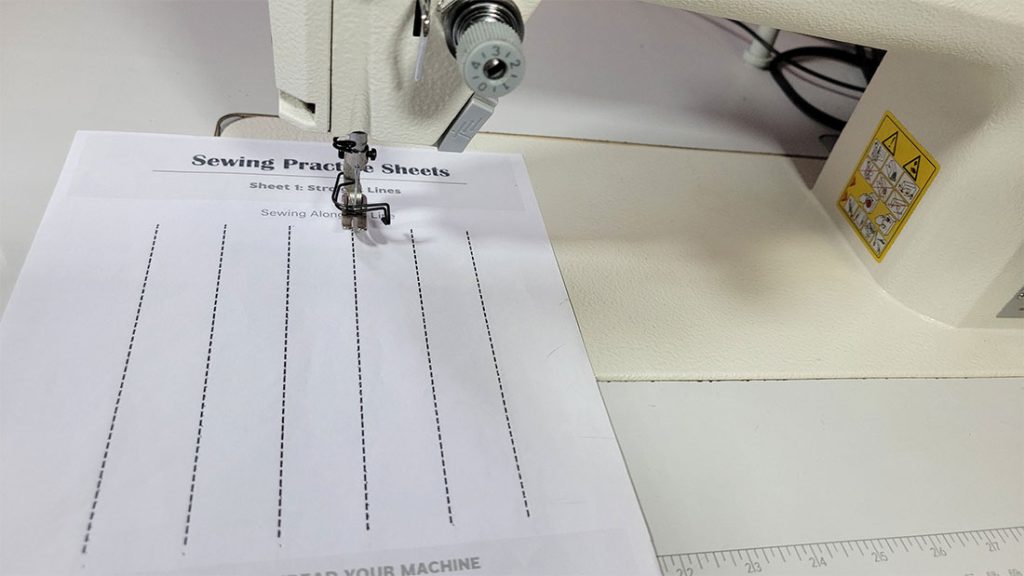
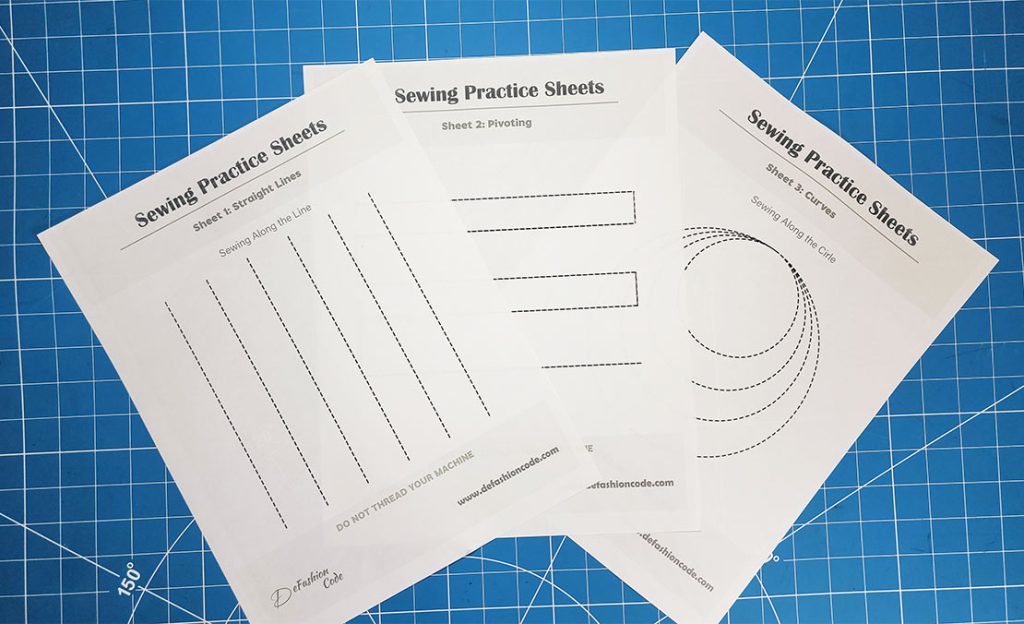
While they might appear straightforward, sewing in a straight line can be tricky. These practice sheets allow beginners to focus on maintaining consistent seam allowances and stitch lengths.
2. Turning Corners:
Practicing corners helps improve precision when sewing projects with angles or turns.
3. Curvy Lines
Curves can be easier to sew than straight lines in some ways. These practice sheets help beginners learn how to navigate gentle curves smoothly.
4. Circles
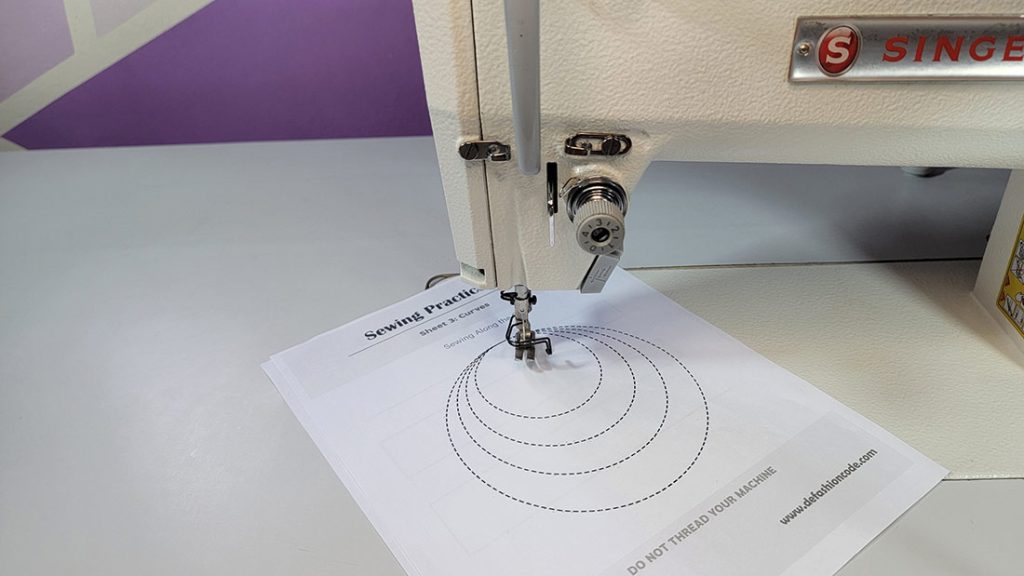
Moving beyond straight lines and curves, circles introduce more complexity. Practicing circular stitching prepares beginners for sewing rounded shapes like pockets or appliqué designs.
5. Zigzag Lines
Zigzag stitches are versatile and commonly used for finishing edges, appliqué, and decorative details. Practice sheets with zigzag lines help beginners master this stitch.
Important Reminder: Do Not Thread Your Machine
Before you begin practicing with sewing sheets, it’s crucial to remember not to thread your machine. This may seem counterintuitive, but there’s a good reason for it.
Focus on the motion: Without thread, you can concentrate solely on the movement of the fabric and the machine. This helps you develop a steady hand and an even pace without the distraction of thread tension and potential tangles.
Prevent needle damage: Practicing without thread also means there’s no risk of damaging your machine’s needle on paper, which can happen if the needle is threaded.
Save resources: You’ll save thread, which can add up over time, especially when you’re in the early stages of learning and practicing a lot.
Once you’re comfortable with the motion and your ability to control the fabric, you can thread your machine and start sewing on actual fabric with confidence.
How to Use Sewing Practice Sheets

Sewing practice sheets are an excellent tool for beginners and experienced sewists alike to refine their stitching techniques. Here’s how to make the most of them:
1. Start with simple lines and shapes
Begin with straight lines, then gradually move on to curves, zigzags, and other shapes. This will help you develop control and precision.
2. Follow the pre-printed patterns:
Many practice sheets come with a variety of patterns. Use these guides to practice different stitches and seam types.
3. Use a stabilizer (Optional)
Place a stabilizer beneath your practice sheet to mimic the feel of real fabric and prevent puckering.
4. Repeat the patterns:
Sew over the same lines multiple times. Repetition is key to muscle memory and improving your sewing skills.
5. Evaluate your work:
After sewing, examine your stitches. Look for even spacing and straightness. Identify areas for improvement and focus on them in your next practice session.
By incorporating sewing practice sheets into your routine, you’ll gain confidence and enhance the quality of your sewing projects. They’re a simple yet effective way to perfect your craft.
Get Your FREE Sewing Practice Sheets Below
Benefits of Using Sewing Practice Sheets
Sewing practice sheets might sound a little boring, but trust me, they’re magic (or at least close enough). Here’s why they’ll become your new go-to for sewing success:
- They save you fabric (and money!): No more sacrificing precious fabric scraps to perfect your straight line game. Practice sheets are inexpensive and can be used over and over.
- Muscle memory is key: The more you practice sewing straight lines on paper, the more your hands and feet will get used to the motions. It’s like training your sewing muscles for sewing greatness!
Additional Tips for Sewing Straight Lines
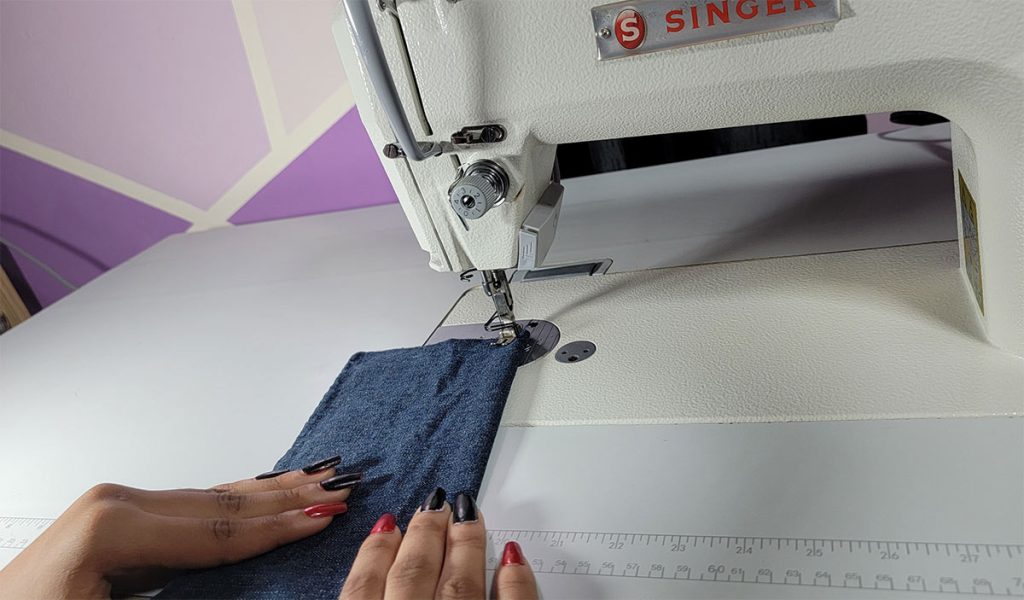
Sewing straight lines is a fundamental skill that can greatly improve the quality of your projects. Here are some additional tips to help you master this technique:
1. Use the sewing machine’s seam guide for reference
Most sewing machines come with seam guides marked on the needle plate. Aligning your fabric edge with these guides can help you sew straight lines without veering off course.
2. Mark the fabric with a fabric pen or chalk for a sewing guide
Before you start sewing, use a fabric pen or tailor’s chalk to draw a line on your fabric. This will serve as a visual guide and ensure that your stitches are straight and even.
3. Practice good posture and hand positioning while sewing
Proper posture and hand placement are crucial for control and precision. Sit straight, keep your wrists relaxed, and gently guide the fabric through the machine without pulling or stretching it.
In closing, sewing practice sheets are your stepping stones to creating beautiful projects. Each stitch, whether straight or a bit off, is progress. Keep practicing, and you’ll see your skills grow. Your dedication will soon turn those sheets into stunning pieces. Happy sewing, and here’s to all the amazing things you’ll craft!

