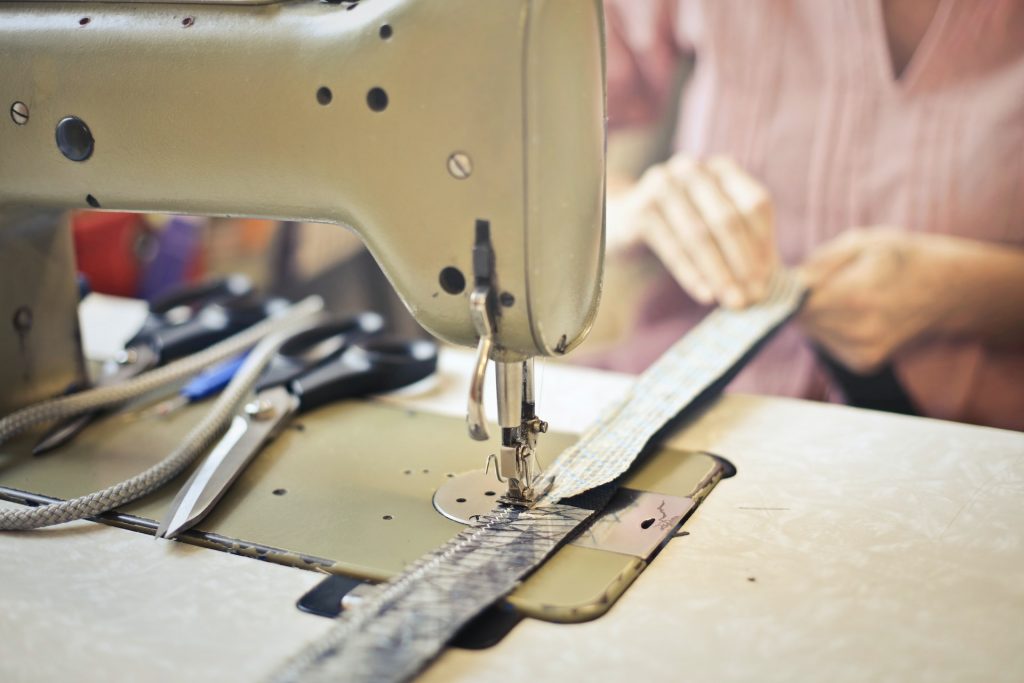
Are you looking for a quick and easy way to create stunning pleats in your fabric? Look no further! In this tutorial, we’ll unveil a secret weapon: the humble paper guide. Yes, you read that right—paper!
Pleating doesn’t have to be complicated or intimidating. With our step-by-step instructions, you’ll master the art of creating pleats effortlessly. Whether you’re a self-taught fashion designer, an upcycling enthusiast, or simply someone who loves creating clothes, this hack is for you.
Let’s get right into it!
Step 1: Gather Your Materials
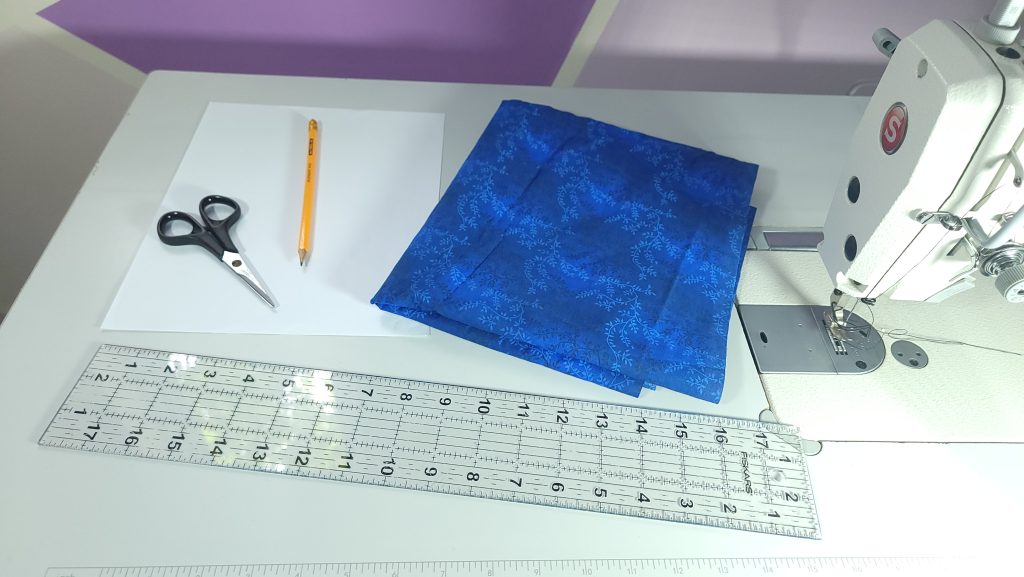
You’ll need:
- Blank paper
- Pencil
- Ruler
- Fabric
- Scissors
Step 2: Measure and Mark On Paper
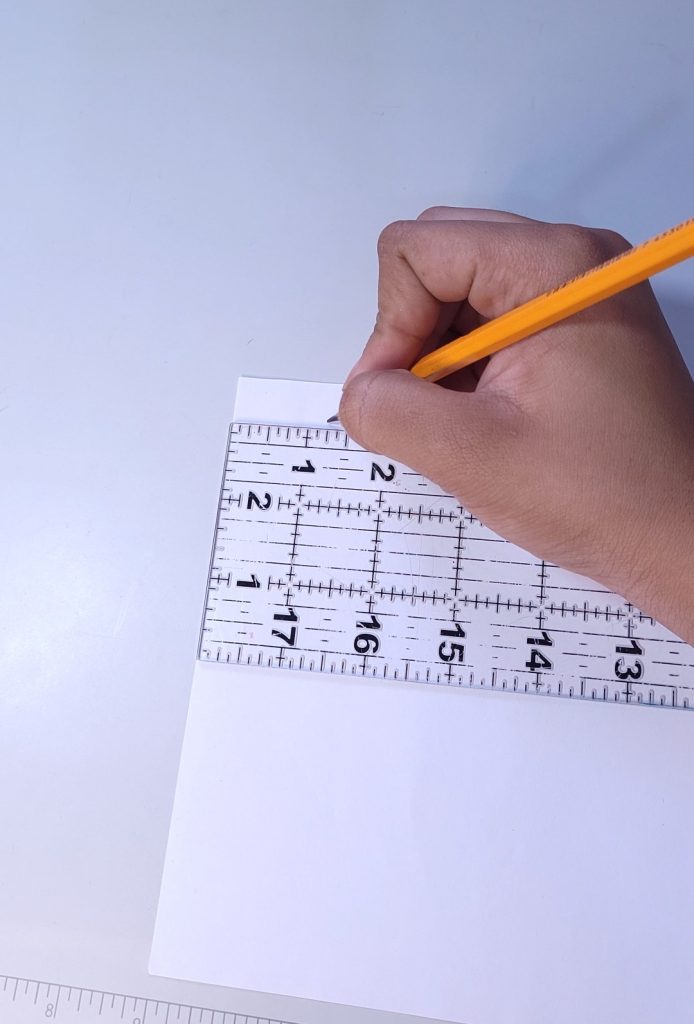
- Measure the desired pleat width (I used 1 1/4″) on the paper.
- Mark this measurement with a pencil to create a straight line.
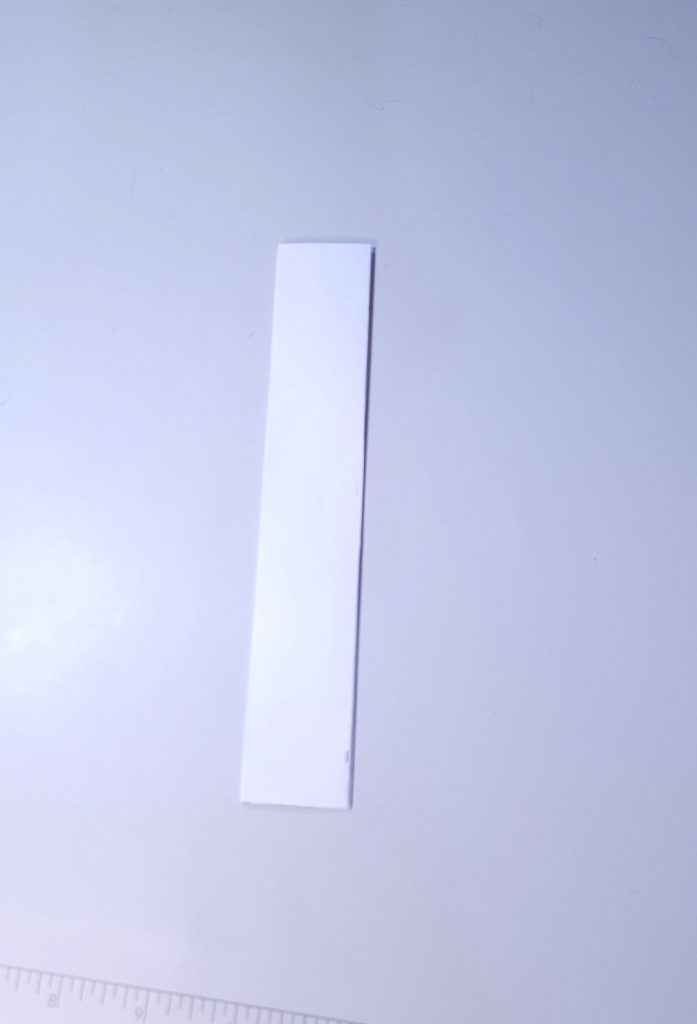
Step 3: Fold Paper & Trim Excess
- Fold paper at the marked line
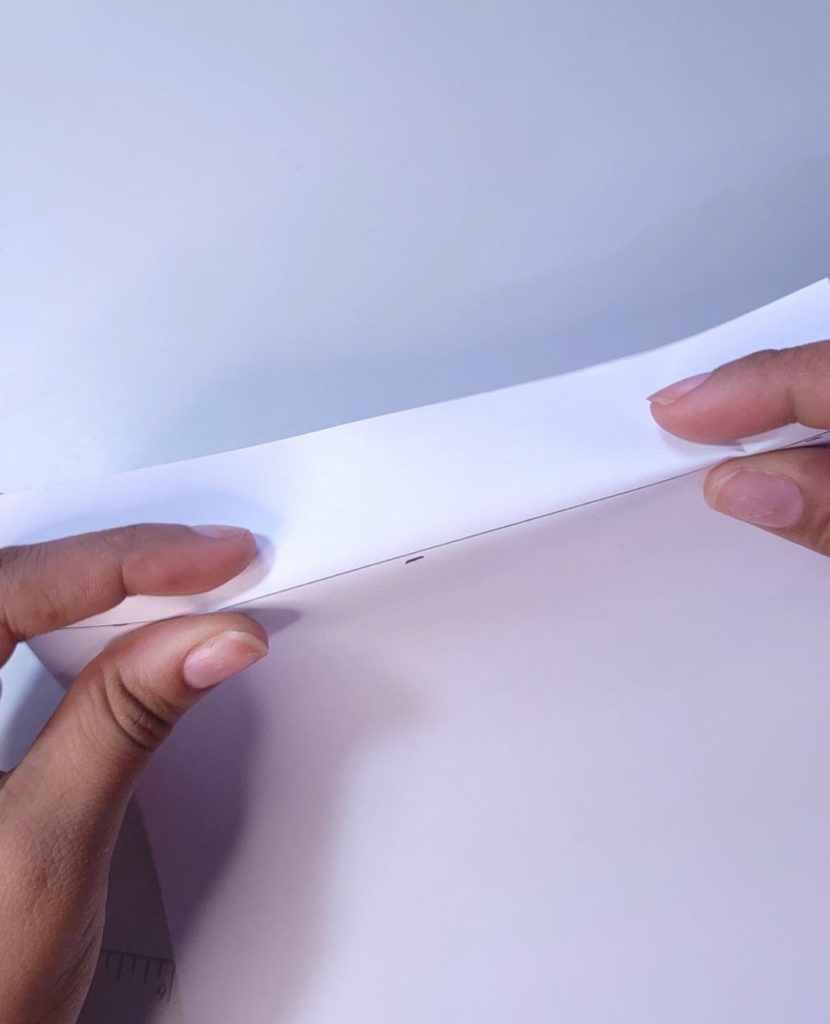
- Fold once more to make paper sturdy
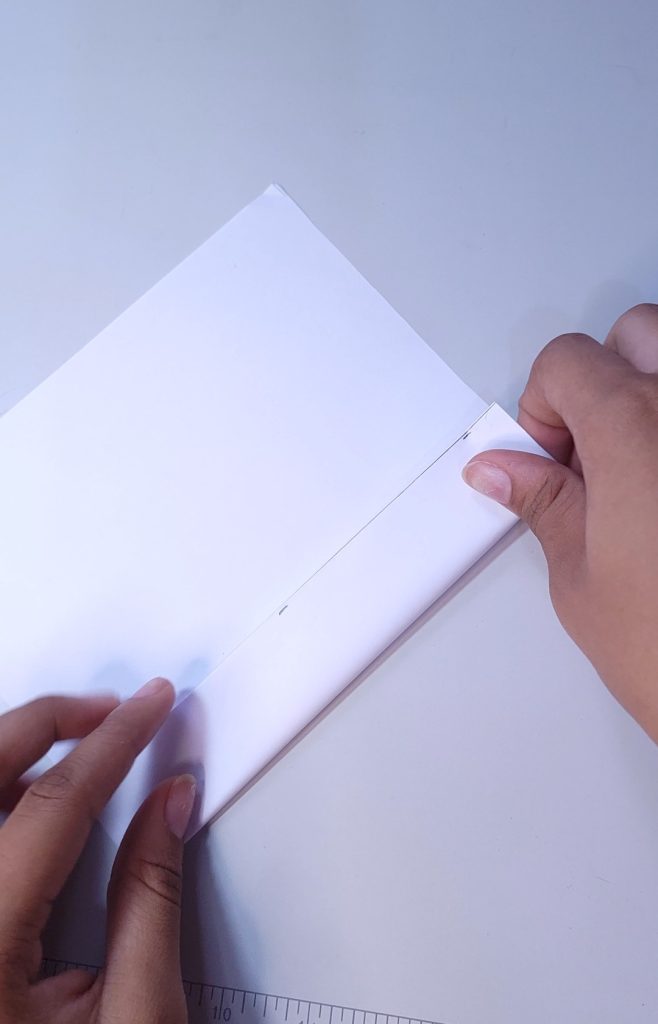
- Use finger to press paper neatly
- Trim Excess Paper

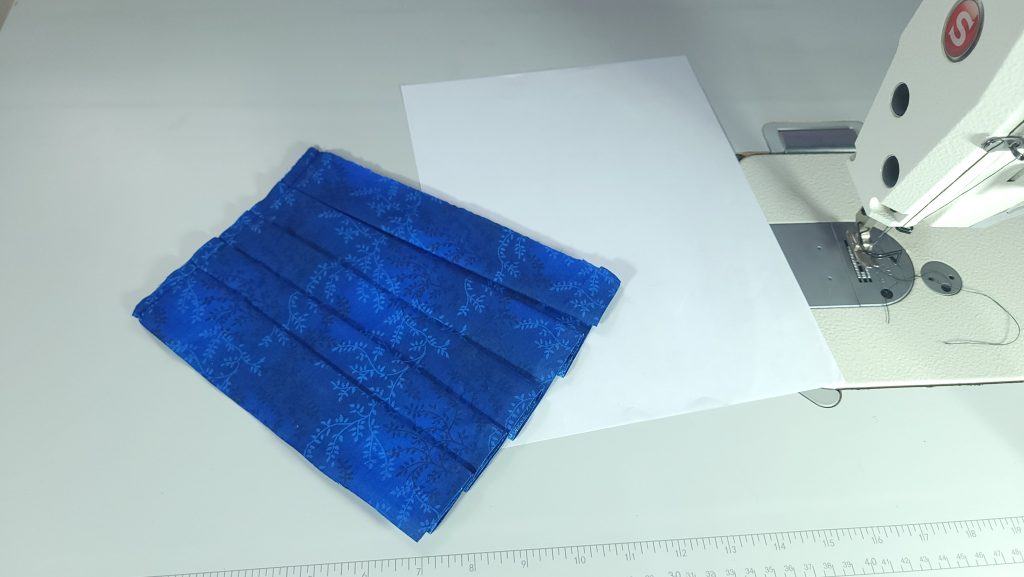
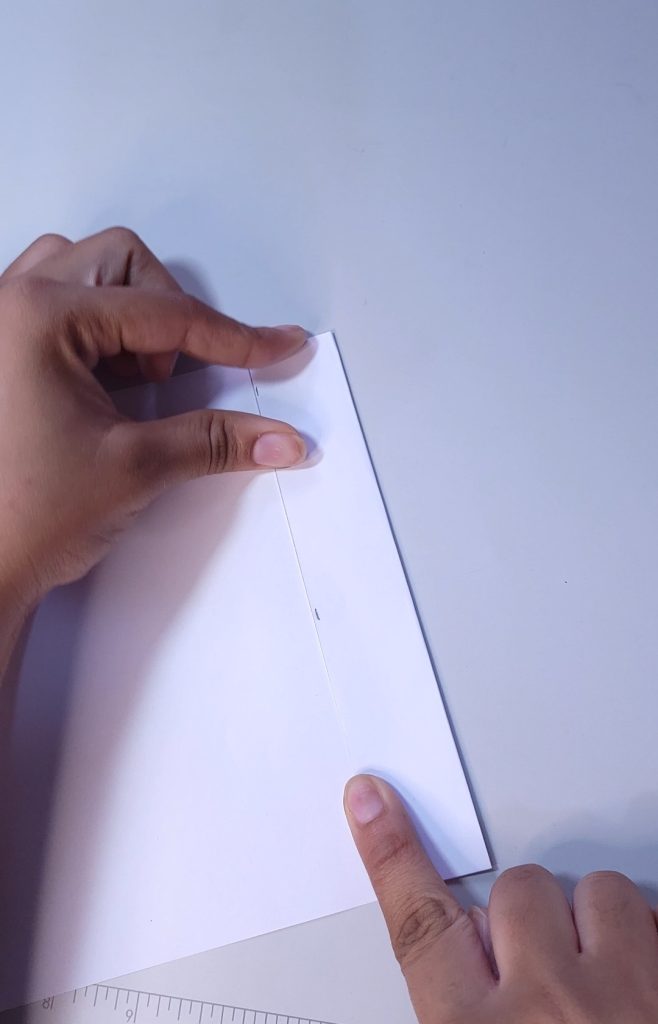
Here is the finish Result:
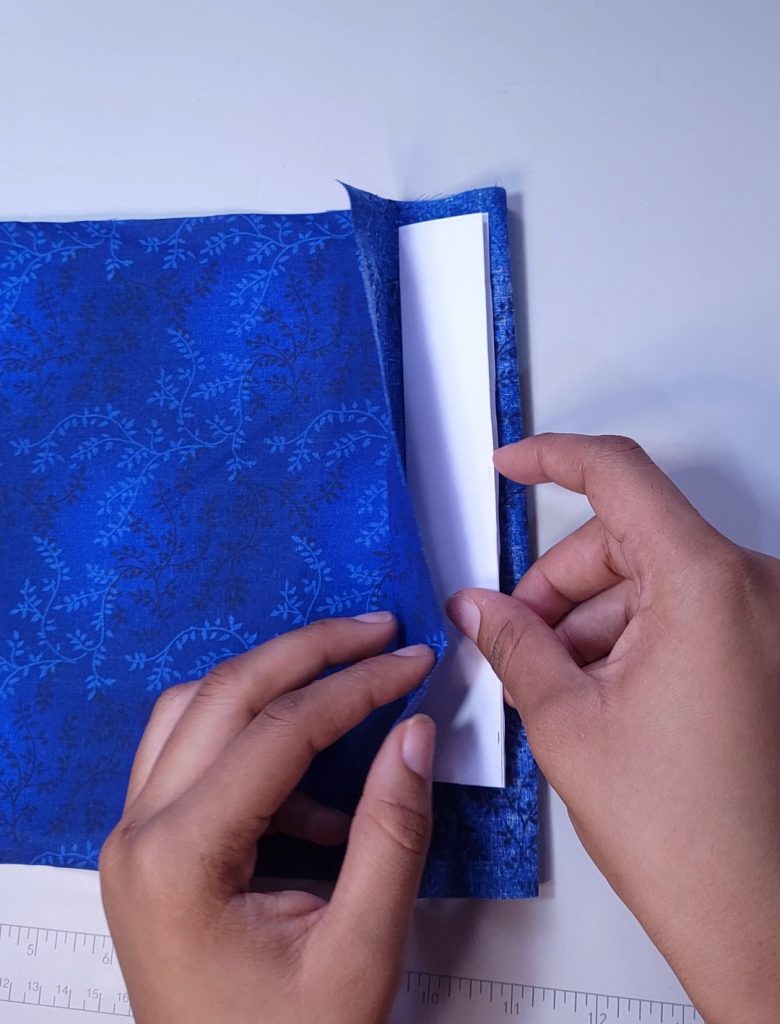
Step 4: Use The Paper as a Pleat Guide
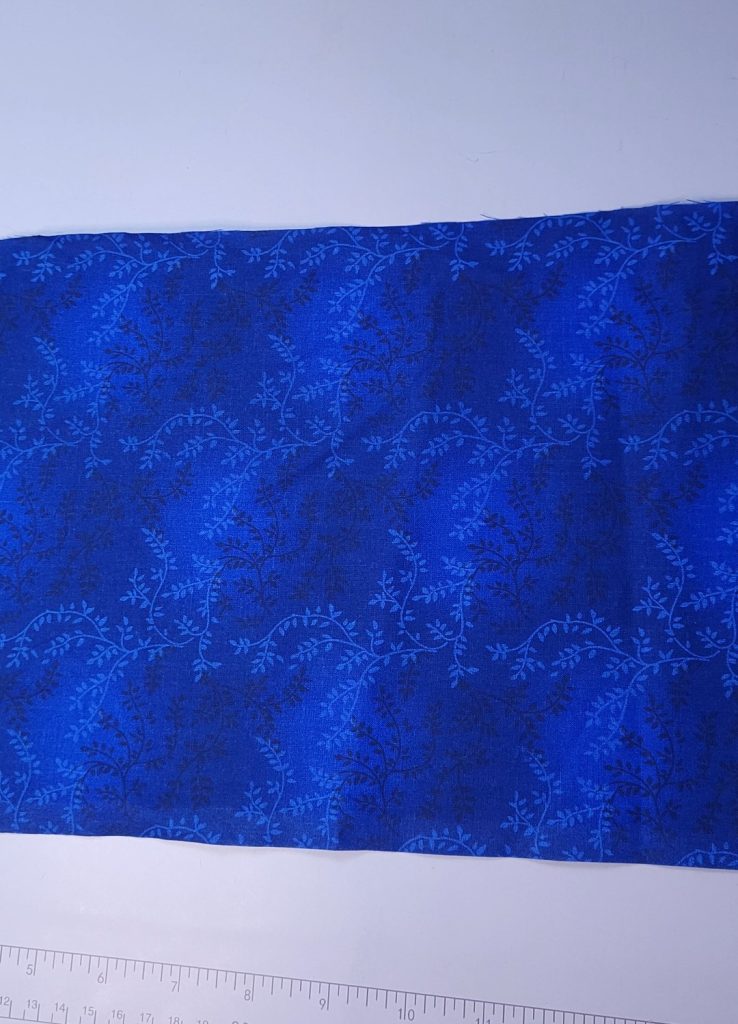
- Lay your fabric flat the right side facing
- Fold the edge over showing the wrong side
- Place the paper template onto the wrong side of the fabric.
- Ensure that there’s excess fabric extending beyond the edge of the paper.
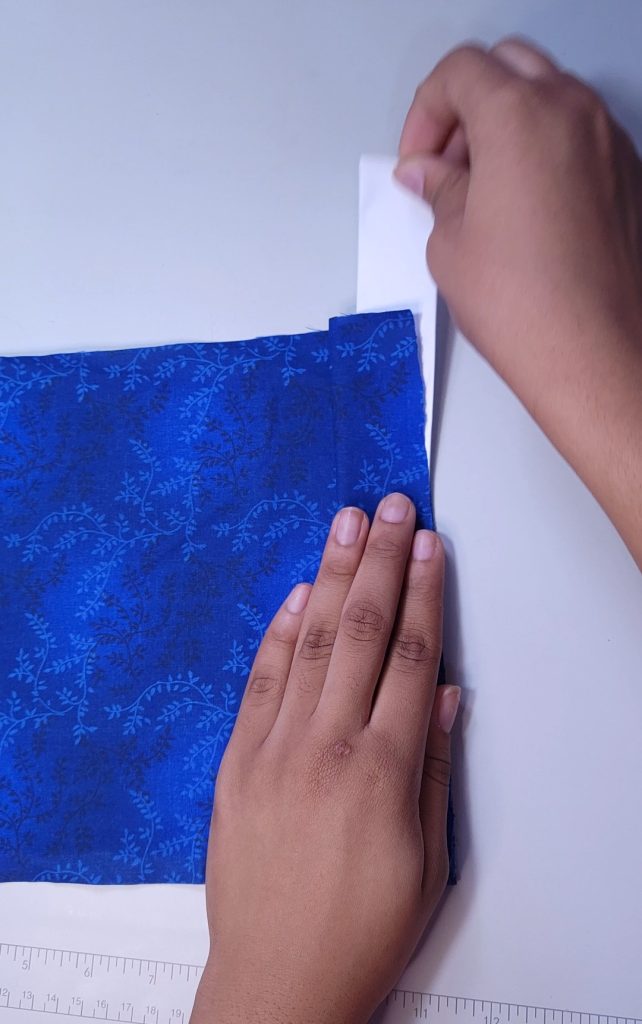
Step 5: Create a Sandwich with the Fabric & Paper
- Fold the excess fabric over the paper, creating a “sandwich” with the paper in the middle.
- The fabric should be at the bottom, the paper in the middle, and the fabric at the top.
- Adjust the pleats until they match the size of the paper template
Step 6: Carefully Remove the Paper
- Once your pleats are precisely measured, gently pull out the paper from inside the fabric.
- The pleats should hold their shape.
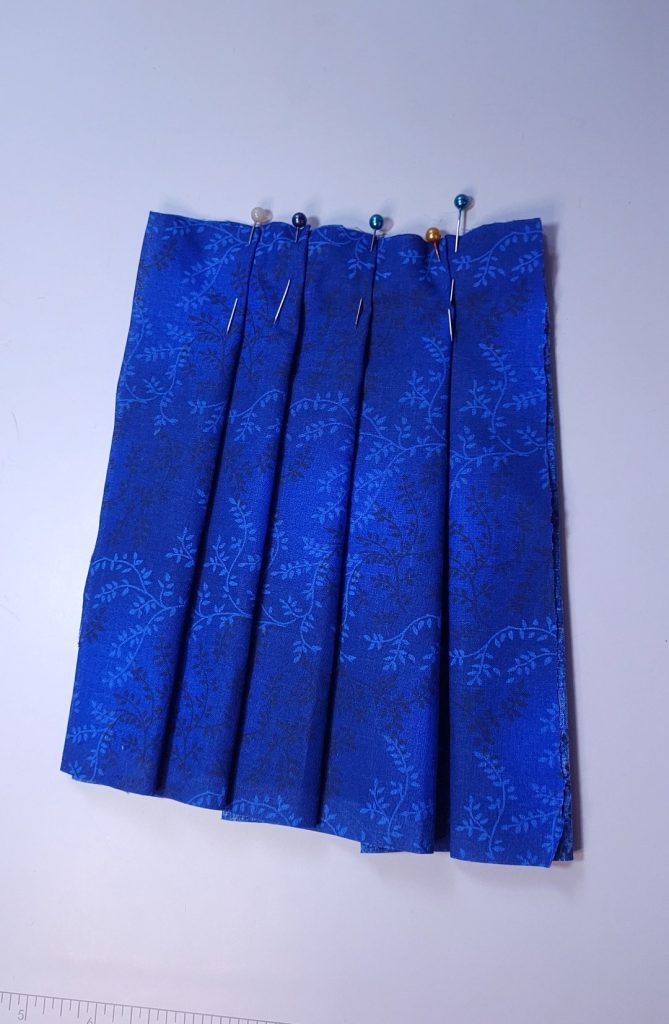
Step 7: Secure with Pins & Repeat Pleating Process
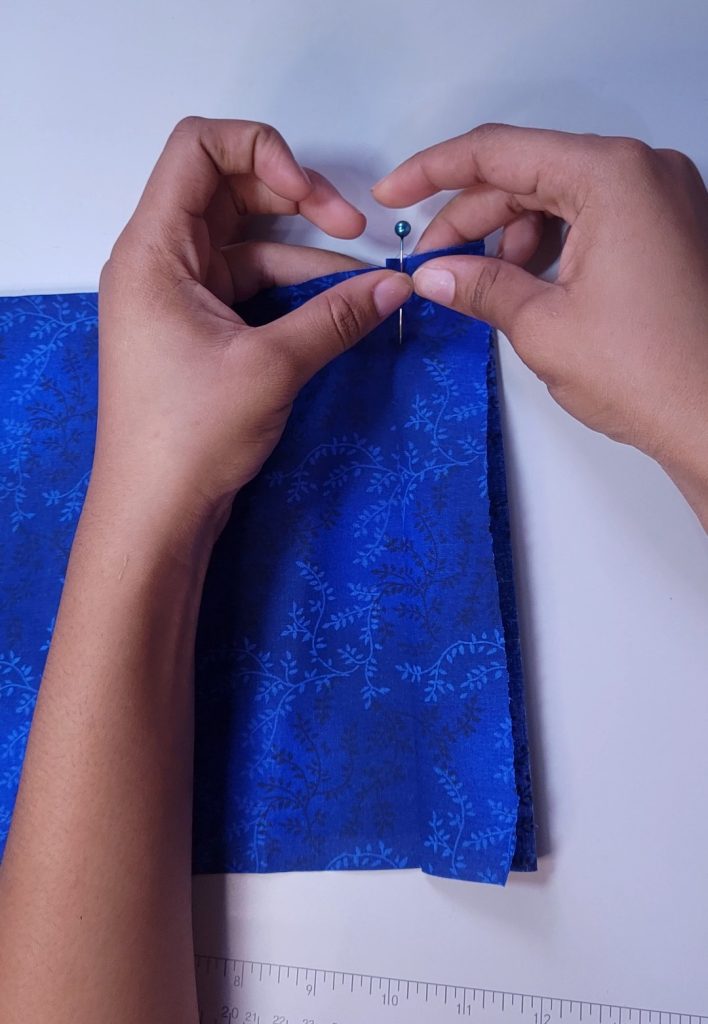
- Pin the pleats in place to prevent them from shifting.
- Repeat the pleat process (starting from step 3) along the entire length of your fabric.
Step 8: Sew the Top Edge
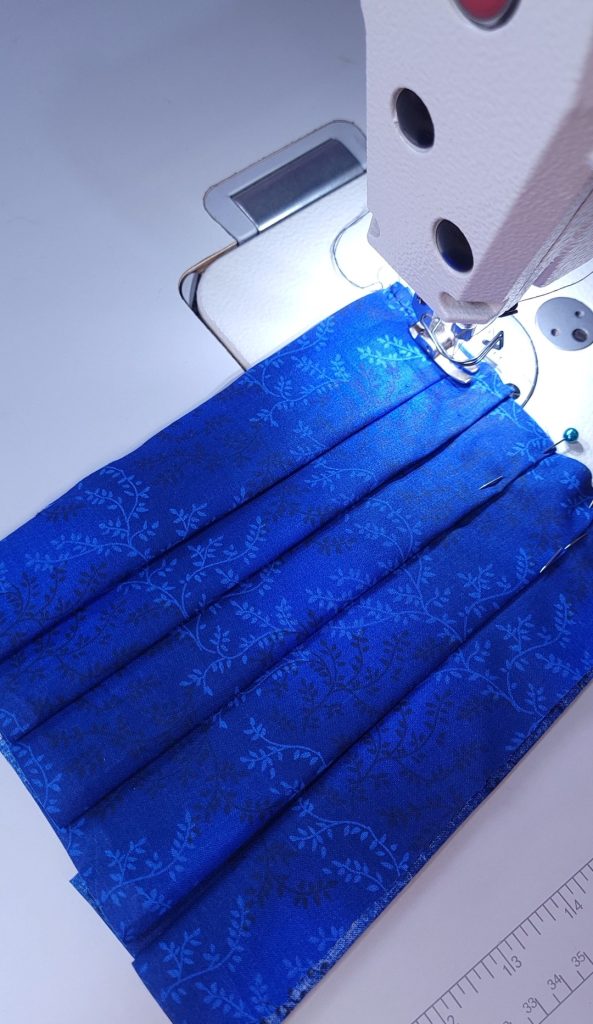
- Sew along the top edge where you’ve pinned the pleats. I used a 1/4” seam allowance.
Step 9: Press The Pleats
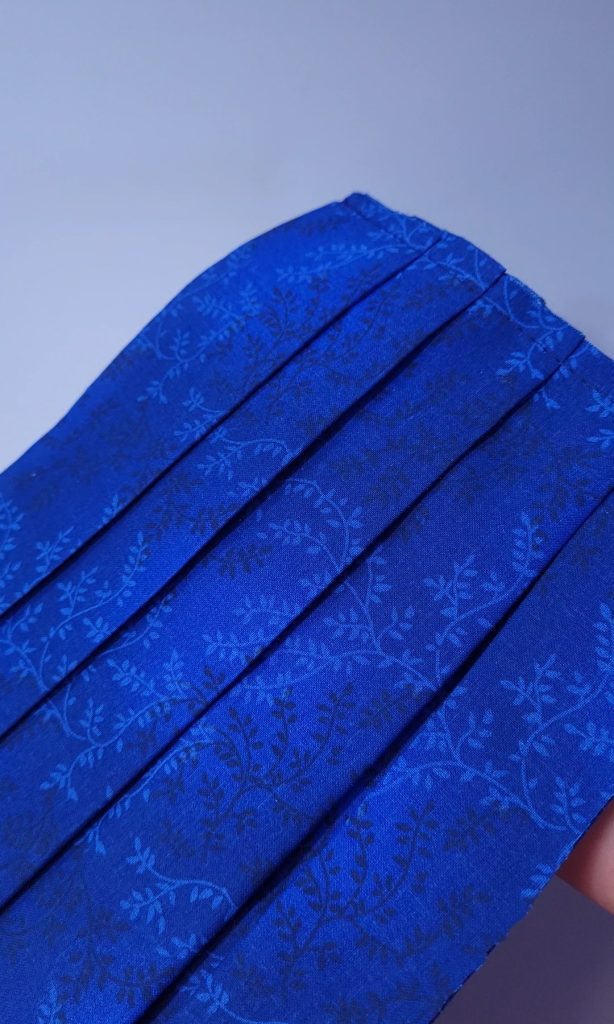
- Finally, press the pleats with an iron to set them neatly.
Conclusion

Remember, practice and patience will help you master this technique. Enjoy creating beautiful pleated garments! How easy was this tutorial to understand? We would love to know how this tutorial has helped you. Please state your feedback in the comments below!