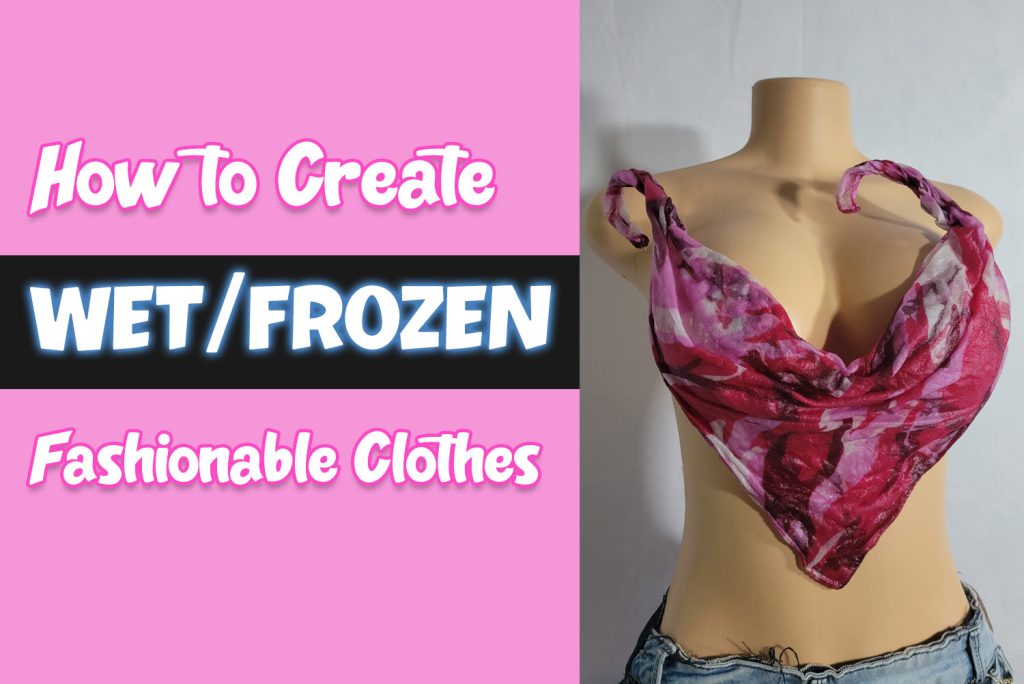
Have you seen the “wet or frozen clothes” look before? It’s a captivating style that caught my eye recently. Intrigued by the possibilities, I decided to give it a try myself.
Since this look is achieved using epoxy, I purchased my first epoxy set. To get comfortable with the material, I started with some scrap fabrics to test drying times. Feeling confident, I tackled my first project using a bandana. As a complete epoxy newbie, I’m thrilled with the results!
Excited to share my newfound knowledge, I have put together a step-by-step tutorial on how to achieve this “wet frozen clothes” look yourself.
Here is a video clip of the tutorial:
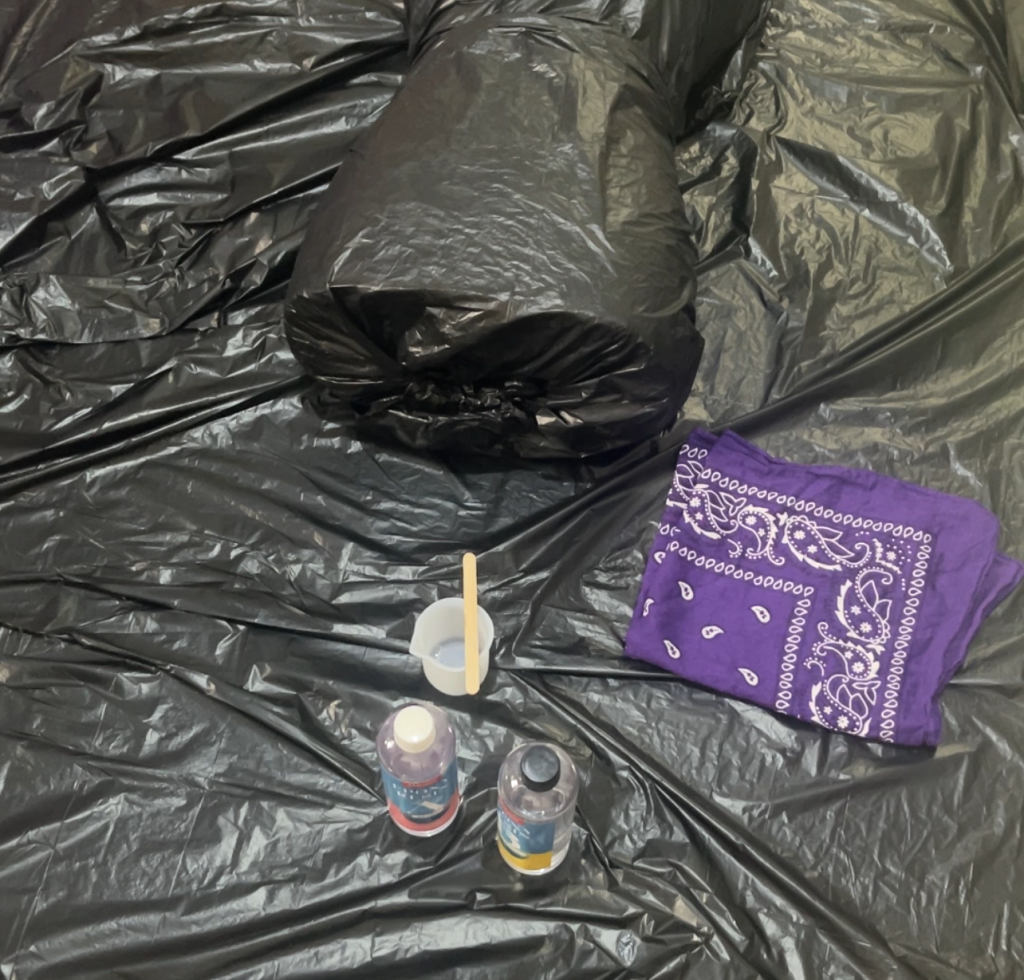
Materials and Tools Used:
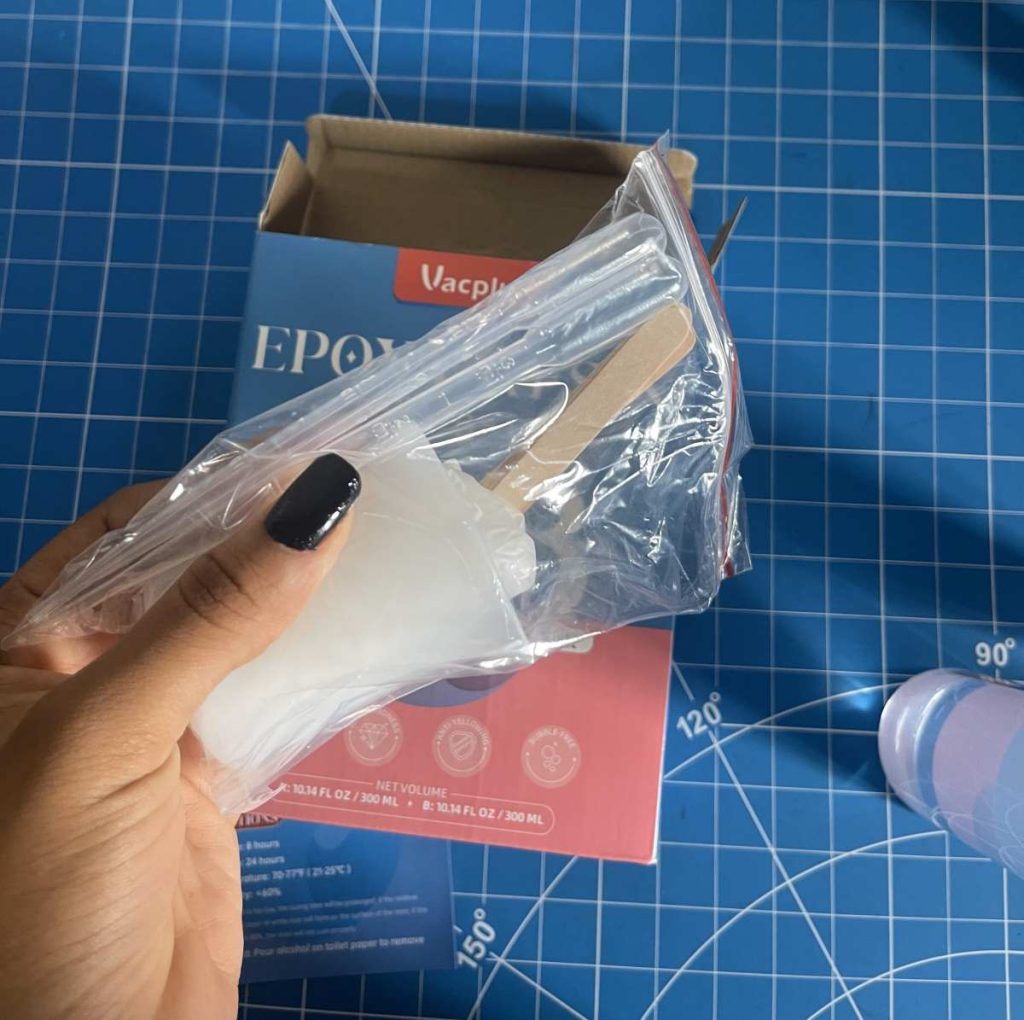
- Epoxy
- Mixing container and stir stick
- Protective gear (gloves, mask, long sleeves)
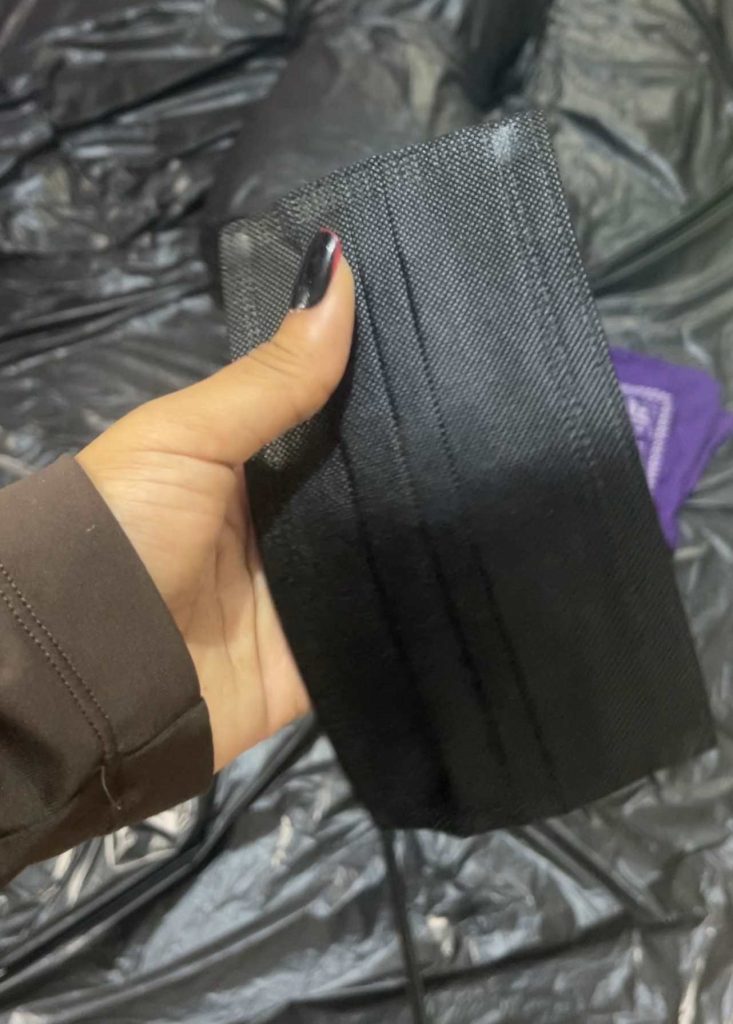
- Bandana
- Plastic Bags
- Mannequin
Step 1:
Preparing The Surface
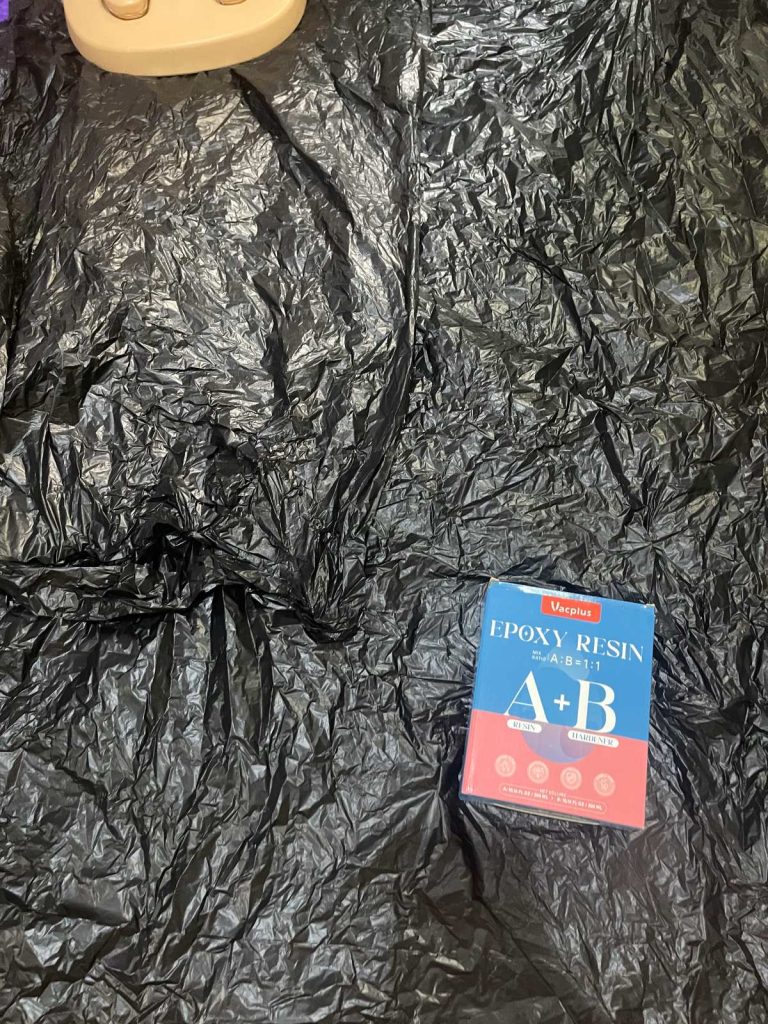
To prepare the area, I have spread out some plastic bags so they could lie flat and covered the space where I would be working. I opted to work on the floor instead of the table because I had more room. However, you can use a table for your work area as long as it’s sufficiently large and comfortable to your liking.
Step 2:
Wrap Mannequin/Dress Form
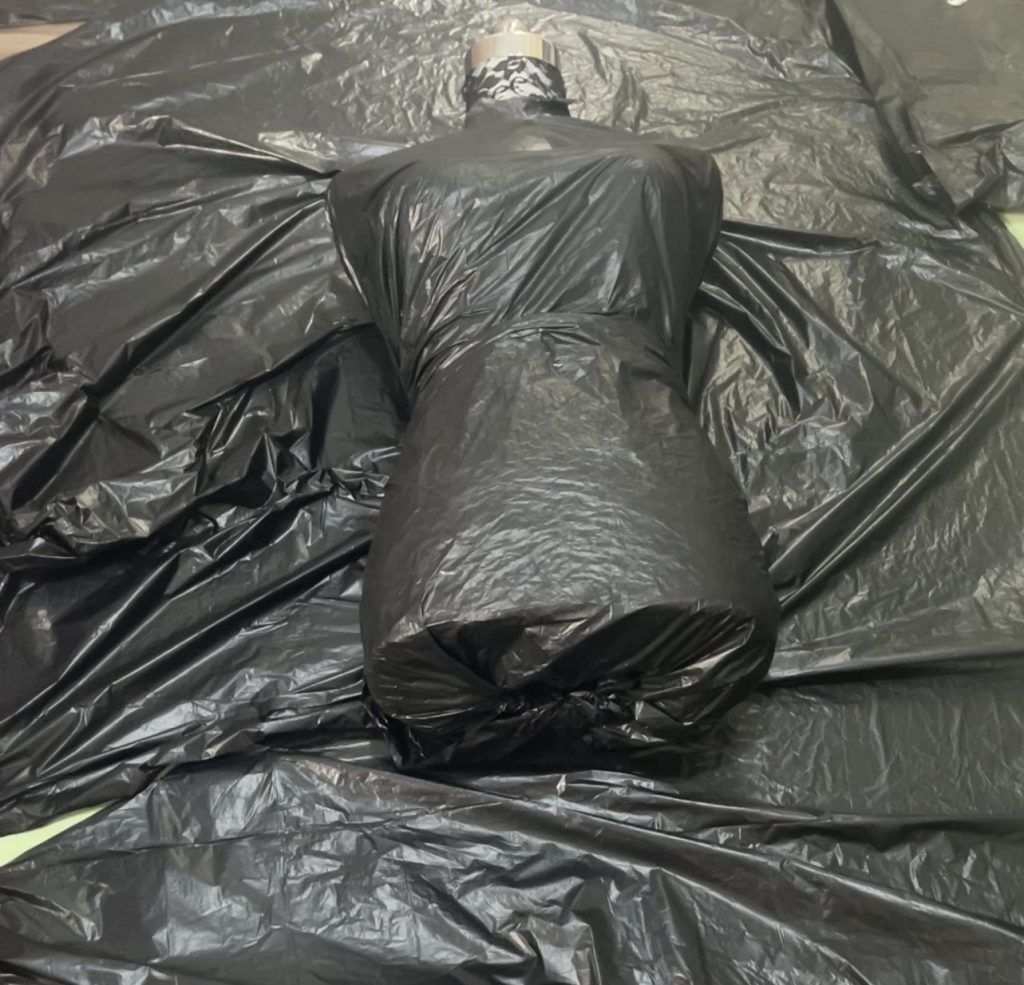
Wrap the dress form or mannequin with plastic to prevent the epoxy from sticking to it. Ensure that it is wrapped properly, highlighting the shapes, so you can efficiently carry out your epoxy styling process.
Step 3:
Choosing The Style You Want
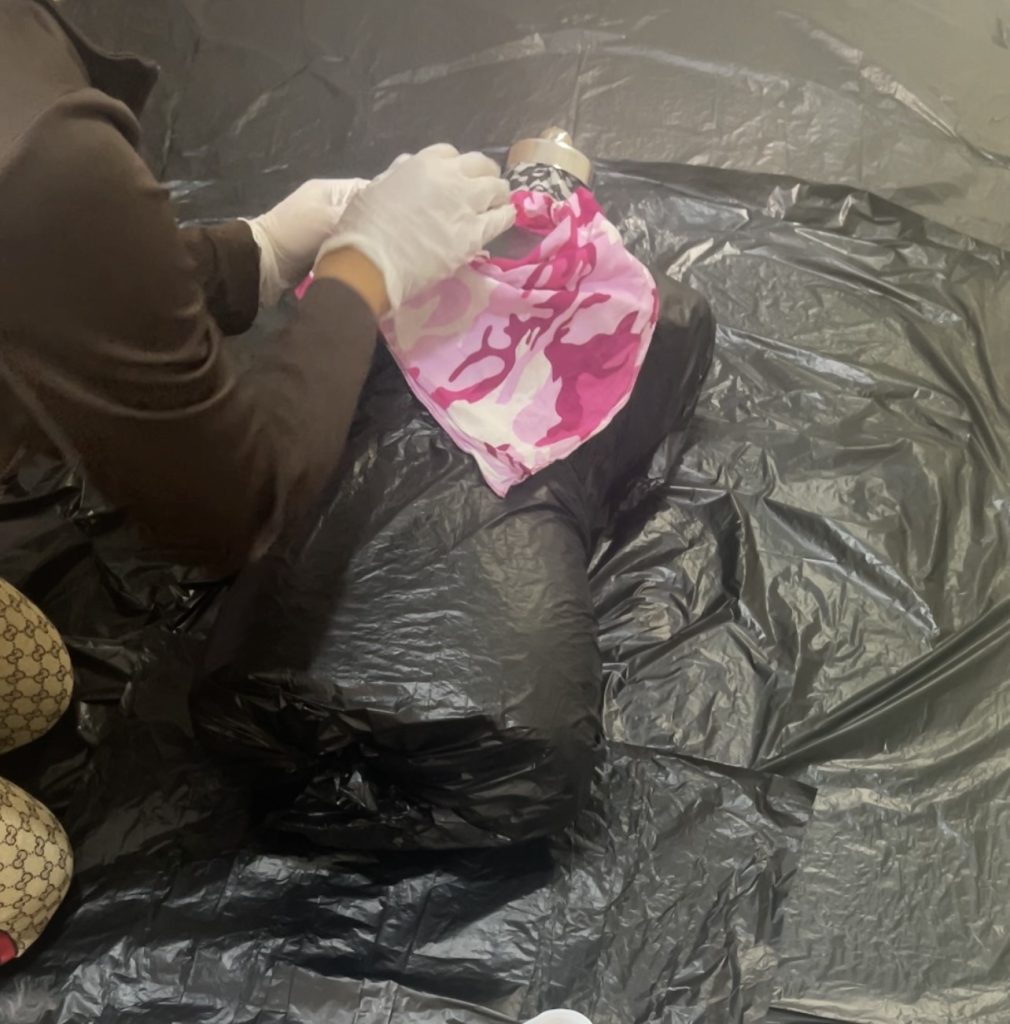
I placed the dry bandana on the dress form to determine the desired style before applying the epoxy. Once I had figured out the style I wanted, I proceeded to mix the epoxy.
Step 4:
Mix The Epoxy
Here is a video footage of me mixing the Epoxy:
- Safety Precautions
When mixing epoxy or any other chemicals, it is important to wear protective gear and be cautious about what you are mixing. Ensure that you do the mixing in a ventilated area, and remember to wash your hands after removing your gloves.
- Measuring The Epoxy
The epoxy that I used required a 1:1 ratio when pouring out the Epoxy Resin and Hardener. Therefore, I measured out the same amount for each. Specifically, I used a measurement of 45 ml for both the Resin and Hardener, resulting in a total of 90 ml. This quantity of epoxy was sufficient for the Bandana.
Keep in mind that you’ll need to measure an amount appropriate for the fabric you’re using. For instance, if your material is a T-Shirt, which is larger than the Bandana, you’ll require more epoxy.
- Stirring The Epoxy
I used a stir stick to mix the Epoxy. It should be gently stirred in a clockwise direction for about 3 minutes until the Resin and Hardener are thoroughly mixed.
Step 5:
Applying the Epoxy
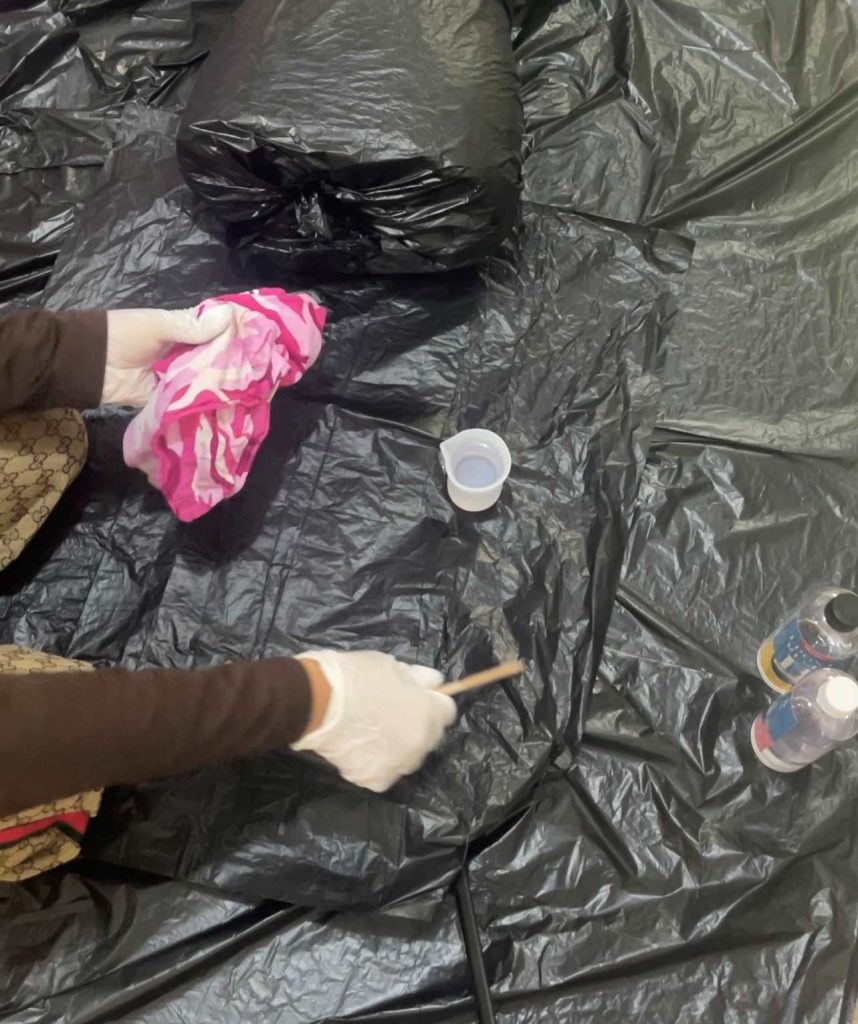
1. Be sure that your work area is completely covered with plastic to avoid making a mess.
2. Dip the material you’re using into the epoxy.
3. When adding the epoxy to your material, you want it to be fully immersed in the epoxy, resulting in the material becoming completely wet.
Step 6:
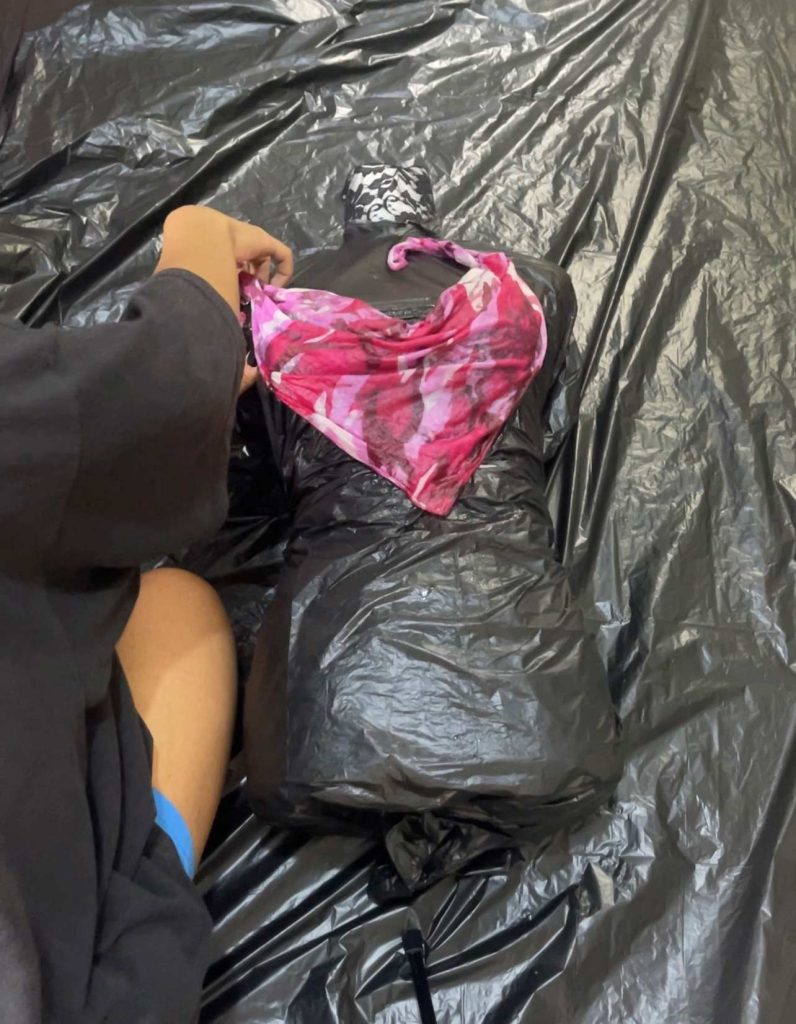
Start Styling
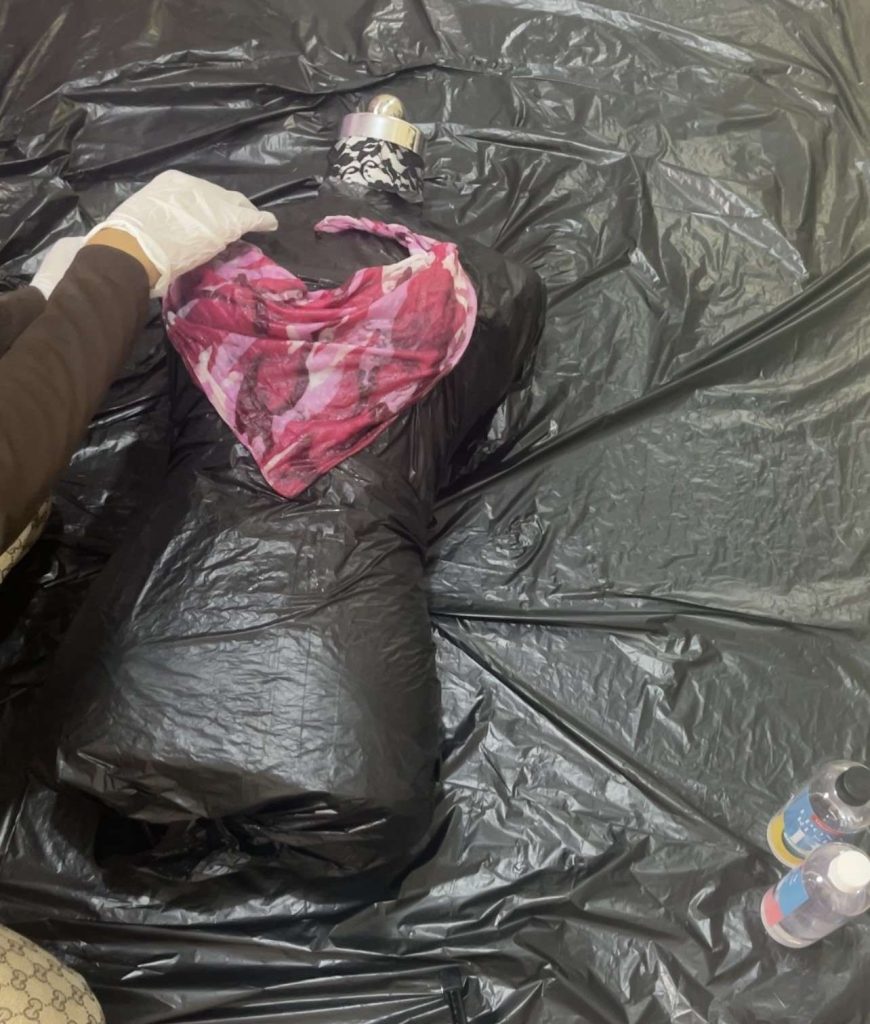
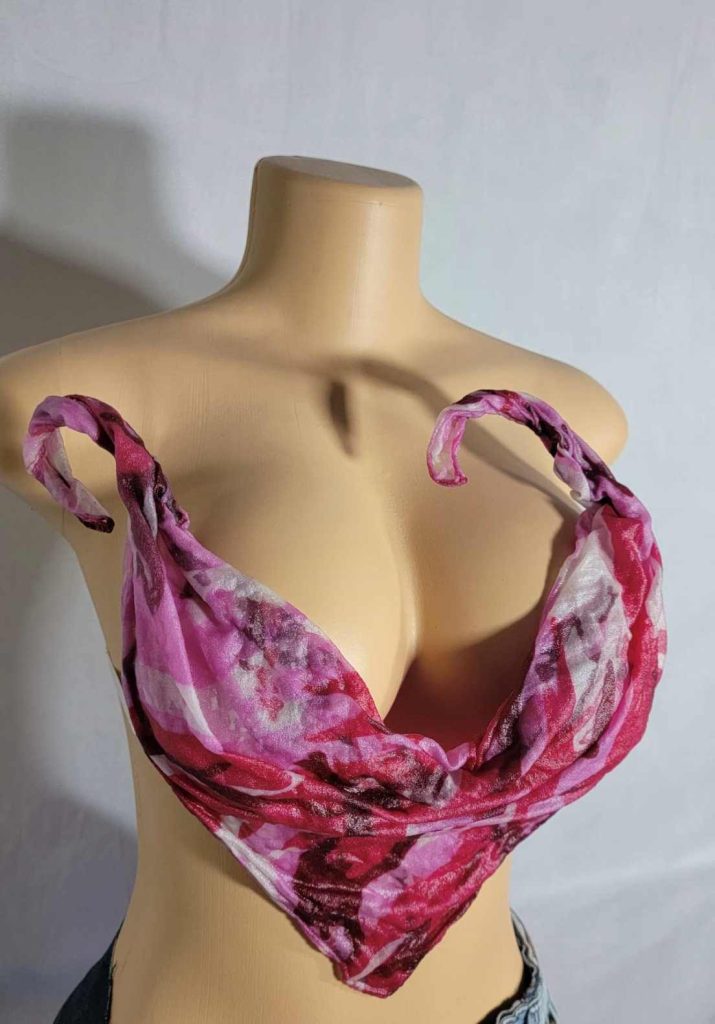
Now we are in the styling process. This is where you can have fun with your creativity. You can now style your wet project however you want on the mannequin. Make sure it is perfectly fitted onto the mannequin, just as you want the finished result to look.
Step 7:
The Drying Process

To allow my project to fully dry, I waited approximately 12-24 hours. During the first half of the drying process, you have the option to cut holes into the sides.
These holes are made to add bands, straps, or other elements to create the back piece. This is how the project becomes wearable. (I personally opted for a different technique, which I will explain later in this article.)
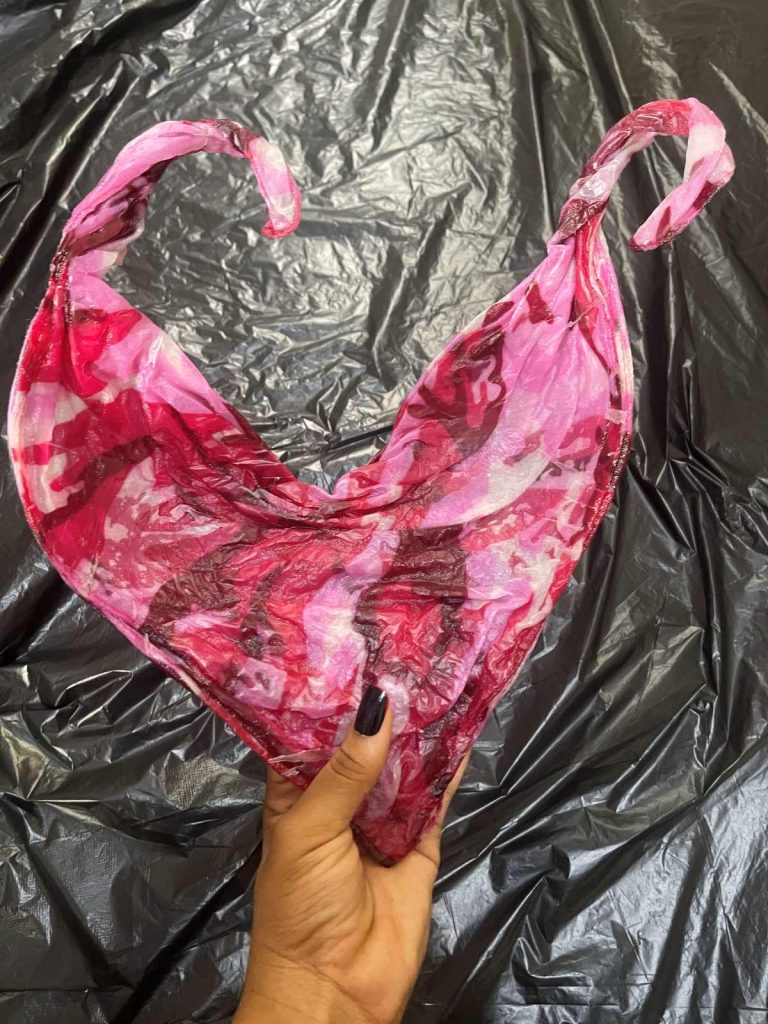
Once it was fully dry, it felt sturdy and looked exactly how I wanted it to be. If you want to create a more finished look to the holes you have created, you can add eye lets to them.
Step 8:
Removing Your Epoxy Piece
After it has fully dried, gently lift your piece from various sides. You can use something that isn’t too sharp (such as a stirring stick) to help lift the epoxy piece from underneath.
Next, after removing the piece, use a blade or any sharp object of your choice to remove any excess epoxy that may be sticking out.
Step 9 (Optional):
Drill Holes into Both Sides
If you forgot to cut holes into the piece or simply didn’t do so (like me), you can use a small drill to create a hole on each side of the epoxy piece. These holes should be sized to accommodate whatever you’ll be using for the piece to become wearable.
Next, measure out the desired length (I used bands (which are 1/2 inch wide) and insert them into the holes, securing both sides.
Feel free to explore alternatives to the bands based on your styling preferences. Remember, if you want to add a more finished look to the holes, you can add eyelets.
Your Wet/Frozen Clothing Is Completed!
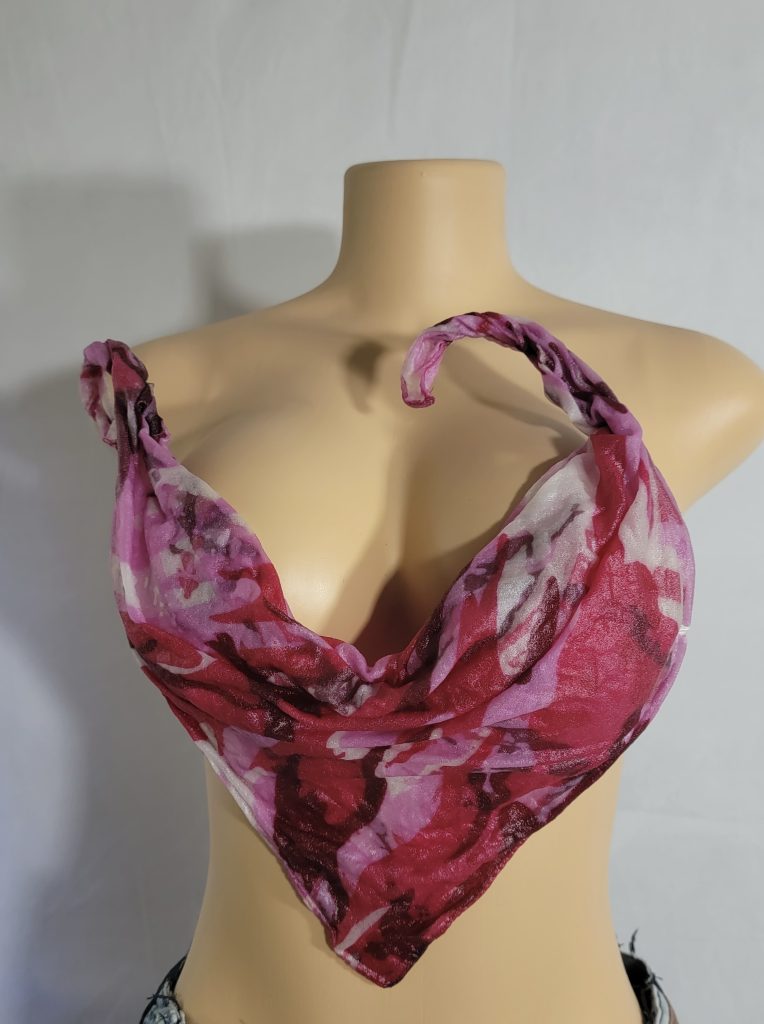
You can now try it on or put it on your mannequin to see how you like it. I’d really love to know how yours turned out! Please share your feedback in the comment section.